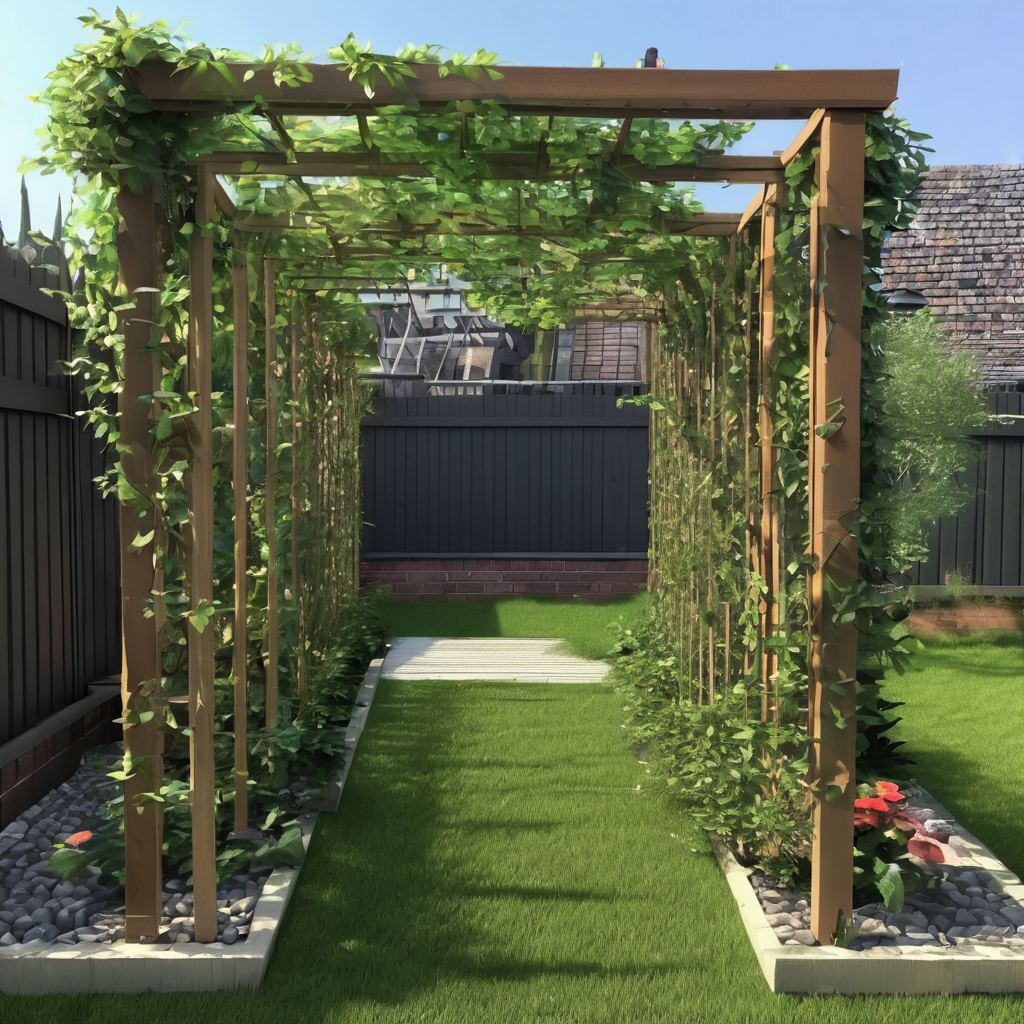
Do It Yourself Garden Trellis can transform your outdoor space, providing both functionality and beauty. A well-designed trellis supports climbing plants, adds vertical interest, and can even create privacy. In this article, we’ll explore how to make a garden trellis, including an a-frame trellis for your garden. Whether you’re a seasoned DIY enthusiast or a beginner, these steps will guide you through the process.
Why Build Your Own Garden Trellis?
Do It Yourself Garden Trellis offers several benefits:
- Customization: Tailor the trellis to fit your garden’s specific needs and aesthetic.
- Cost-Effectiveness: Save money by using materials you may already have.
- Satisfaction: Enjoy the sense of accomplishment from creating something with your own hands.
Tools and Materials
Before you start, gather the necessary tools and materials. Here’s a basic list:
- Wooden stakes or metal poles
- Wire or garden twine
- Hammer and nails, or screws and a drill
- Saw (if cutting wood)
- Measuring tape
- Level
- Sandpaper (for smoothing wood)
How Do It Yourself Garden Trellis
Step 1: Choose the Location
Select a spot in your garden where the trellis will not only support plants but also enhance the landscape. Ensure the ground is level and receives adequate sunlight for your climbing plants.
Step 2: Decide on the Design
For a classic look ; Do It Yourself Garden Trellis , consider an a-frame garden trellis. This design provides stability and ample space for plants to grow. Alternatively, a simple flat trellis may suit smaller gardens.
Step 3: Prepare the Materials
Cut the wood or metal to your desired dimensions. For an a-frame trellis for the garden, you’ll need two long pieces for the sides and shorter pieces for cross-supports. Sand any rough edges to prevent splinters.
Step 4: Assemble the Trellis
- A-Frame Garden Trellis:
- Create an ‘A’ shape by securing the tops of two long wooden pieces together with a bolt or sturdy wire.
- Attach horizontal cross-supports at regular intervals to form rungs for plants to climb.
- Anchor the base of the ‘A’ into the ground for stability.
- Flat Trellis:
- Lay out the vertical stakes or poles evenly apart.
- Attach horizontal pieces across the verticals, forming a grid pattern.
Step 5: Secure the Trellis
Use a hammer or drill to secure nails or screws, ensuring the structure can withstand wind and the weight of plants. Check with a level to maintain balance.
Step 6: Position the Trellis
Once assembled, place the trellis in your chosen location. For an a-frame trellis, ensure each side is firmly planted into the ground. Use additional stakes if necessary to anchor it securely.
How you Do It Yourself Garden Trellis Stand Out
Add a Personal Touch
Paint or stain the wood to match your garden’s theme. Consider adding decorative elements like finials or carving patterns into the wood.
Plant Selection
Choose climbing plants that complement your trellis design. Options include:
- Morning Glories: Fast-growing and colorful.
- Clematis: Offers large, showy flowers.
- Sweet Peas: Provides fragrance and delicate blooms.
Maintenance Tips
- Regularly check for structural integrity.
- Prune plants to prevent them from overwhelming the trellis.
- Clean the trellis annually to maintain its appearance.
Benefits of an A-Frame Trellis for Garden
The a-frame design offers unique advantages:
- Stability: Its shape provides excellent support, even for heavier plants.
- Space Efficiency: Maximizes vertical growing space, ideal for small gardens.
- Versatility: Suitable for various climbing plants and can serve as a garden centerpiece.
Conclusion
Building a garden trellis is a rewarding project that enhances your garden’s beauty and functionality. By following these steps on how Do It Yourself: Garden Trellis, you can create a structure that supports your plants and reflects your personal style. Whether you opt for an a-frame trellis or a simpler design, your DIY trellis will surely become a cherished part of your outdoor space. Enjoy the process and the flourishing garden that results from your efforts.

